More accurate locations make better forecasts
Location matters more than it may seem when checking aurora forecasts. Even places that look close on a map can have very different viewing conditions, and the actual observation spot is often far from the center of a city. A lake shore, a lookout point, or a favorite dark-sky parking area can be the place you really care about. In this update, Aurora Eos adds custom saved locations so forecasts can be matched more closely to where you will actually stand.
For location accuracy, Aurora Eos displays latitude and longitude to 4 decimal places. That is precise enough to distinguish points at roughly a tens-of-meters level, which makes it useful for saving real aurora hunting spots like parking areas, viewpoints, lodges, or places along your actual travel route.
1. Search by city, just like before
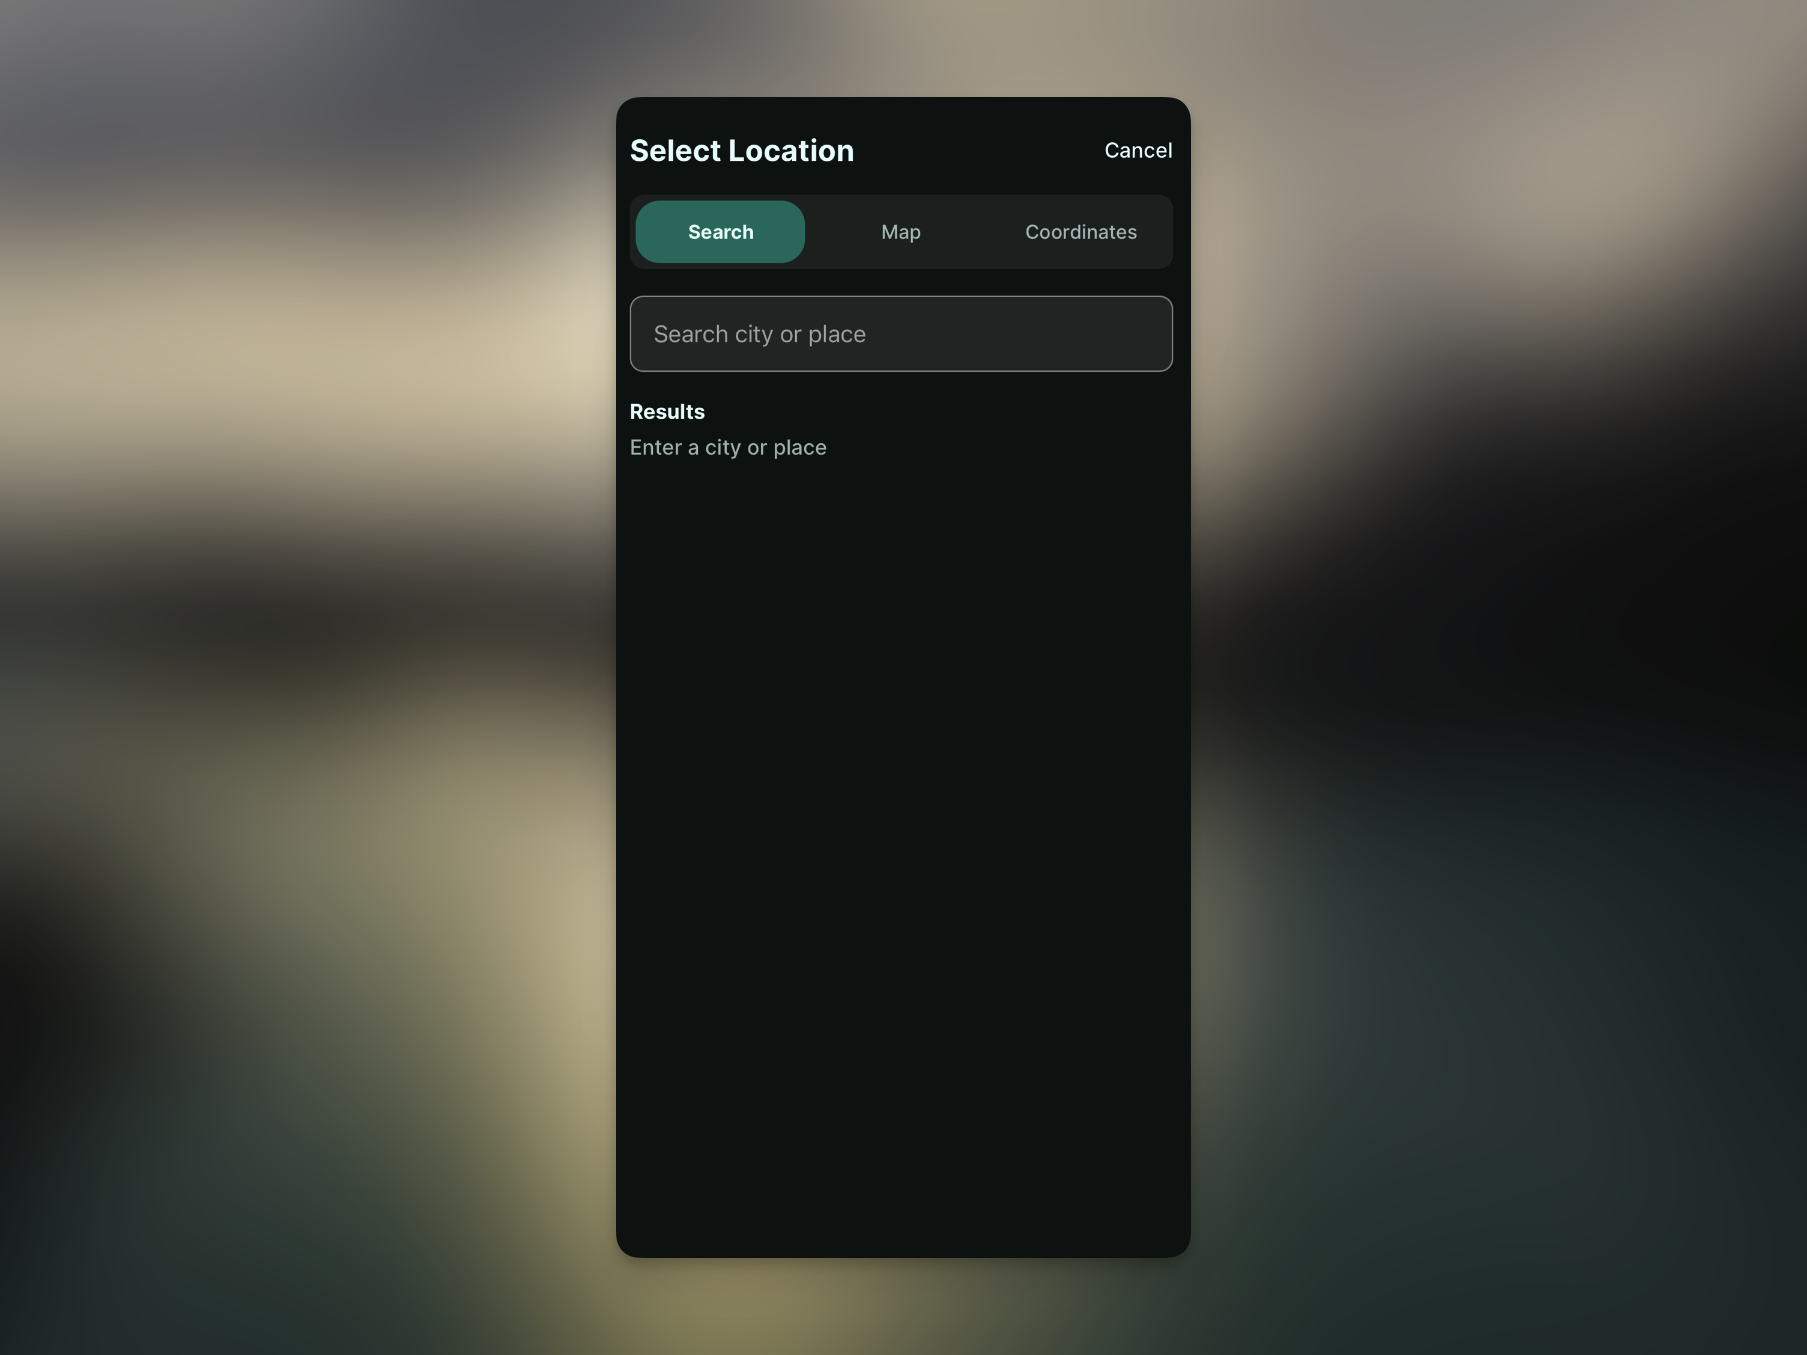
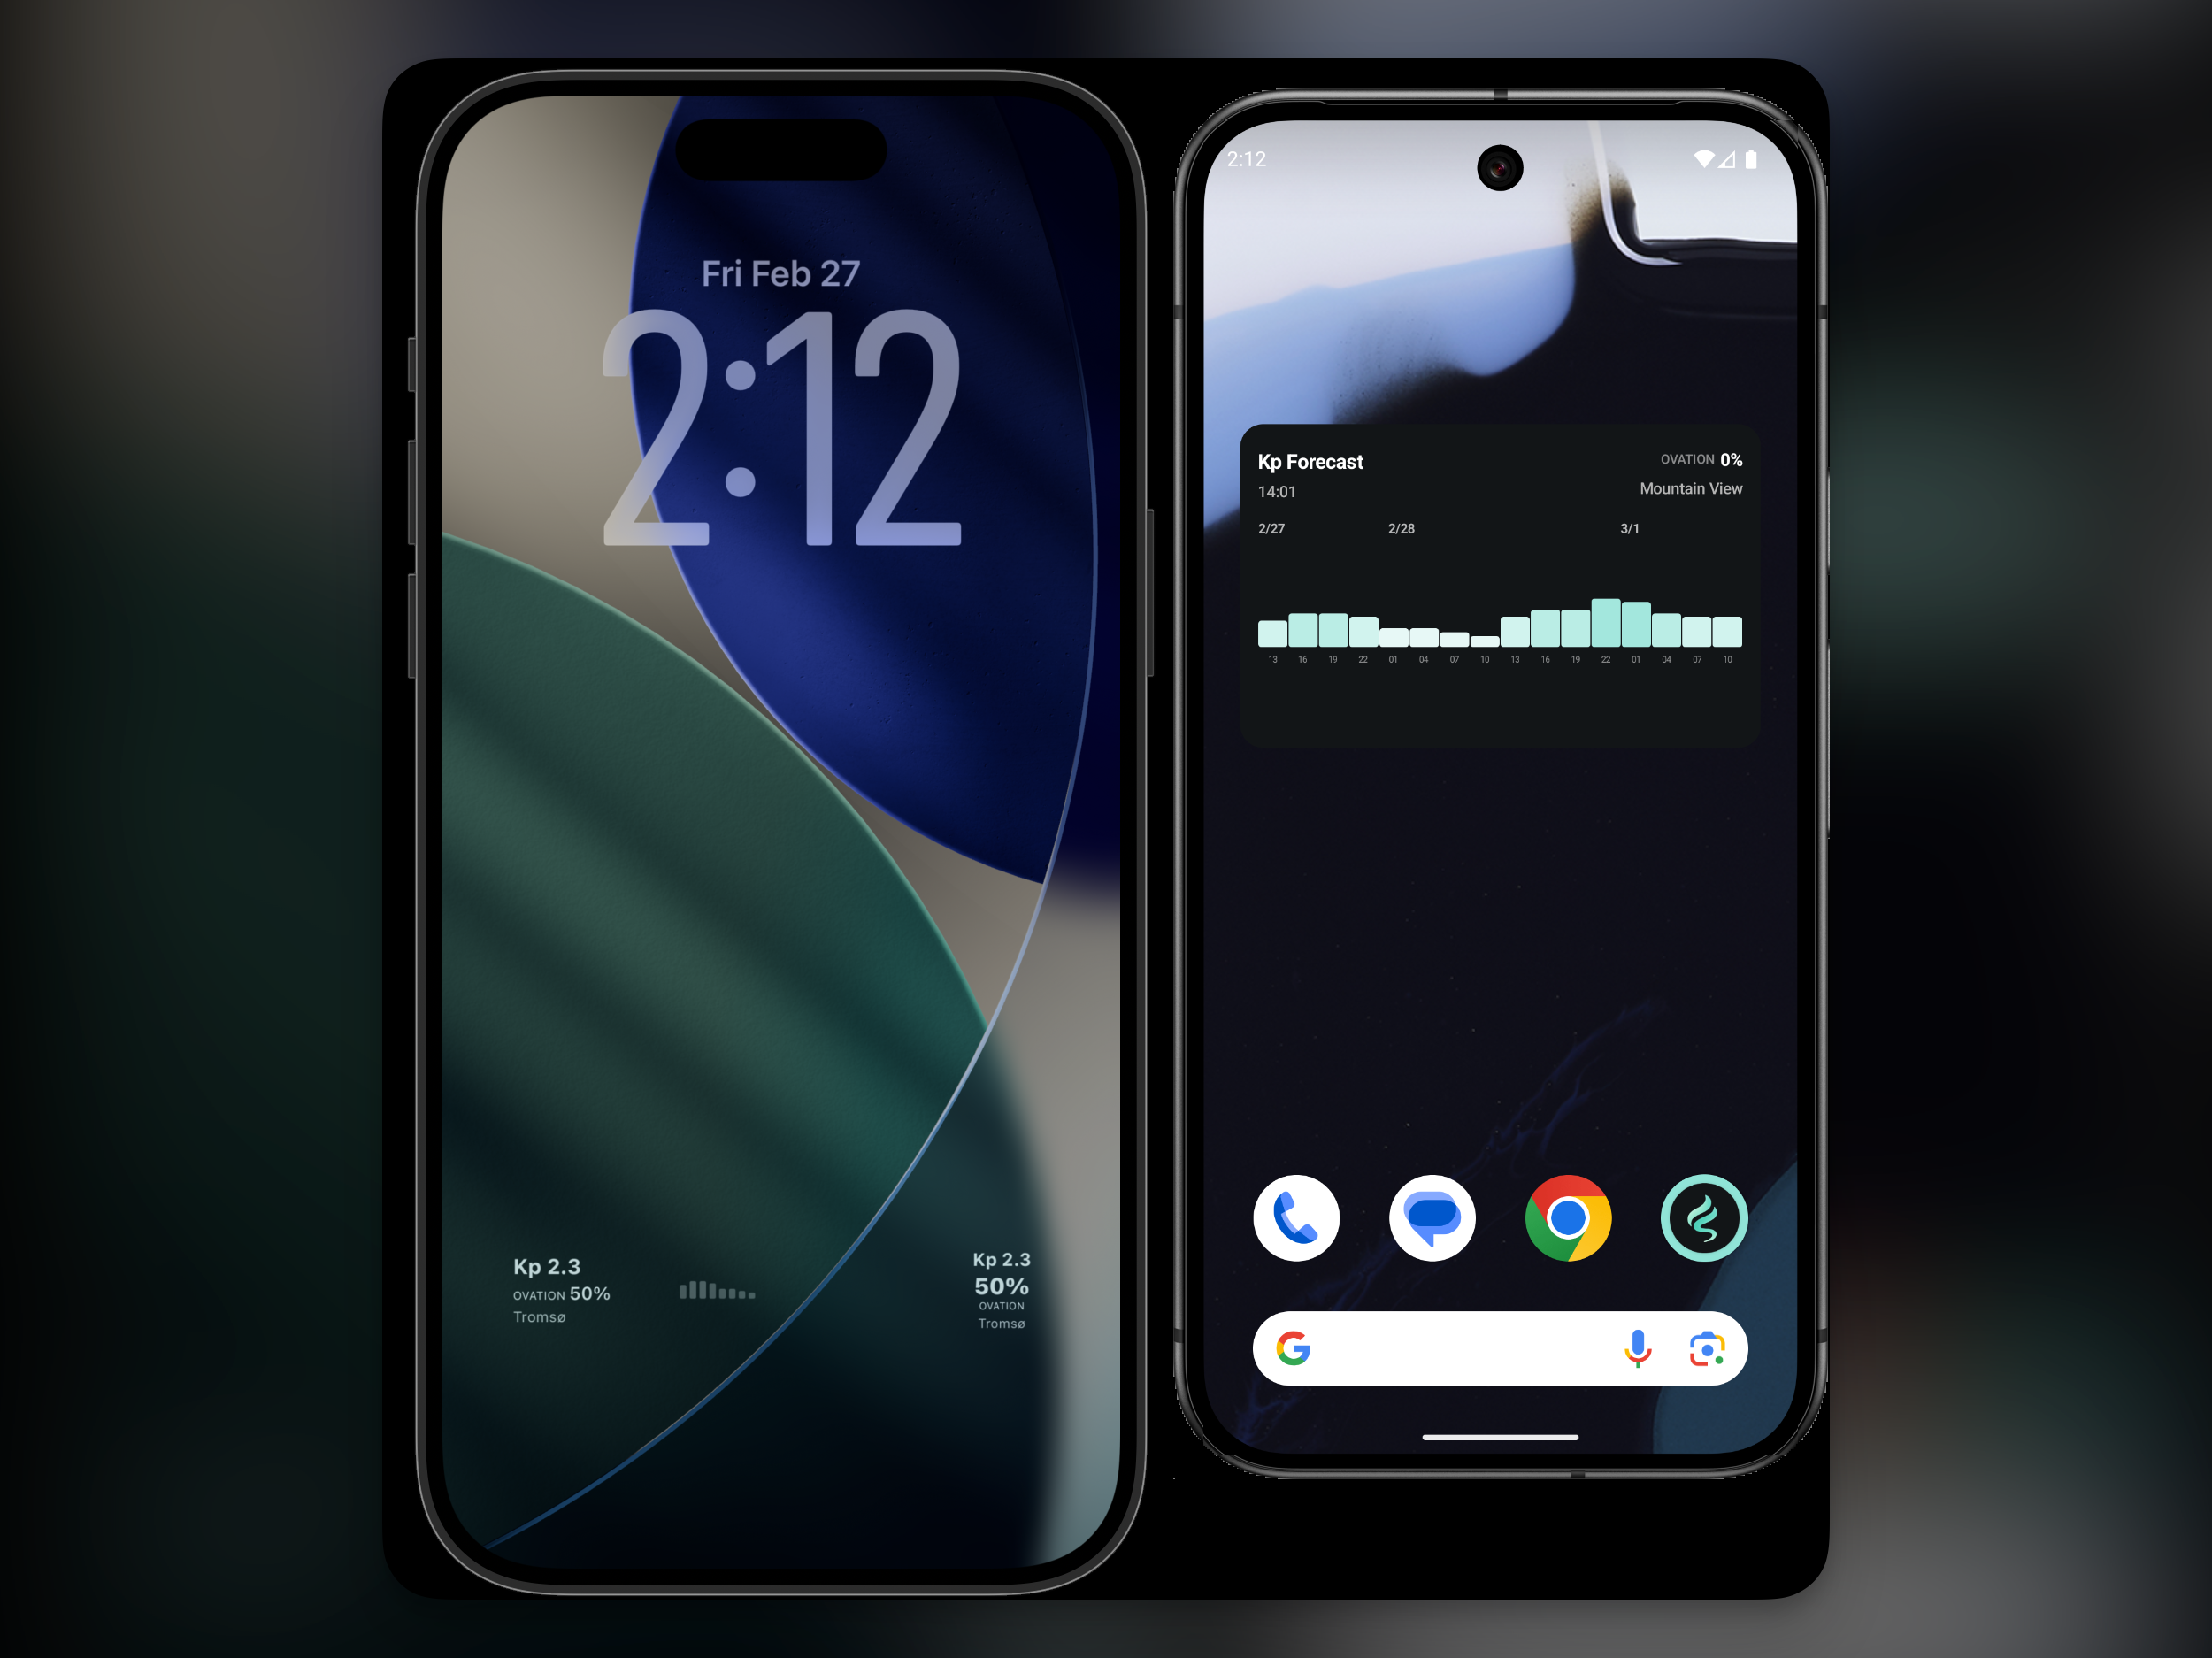
The simplest option is still city search. Enter a well-known aurora destination such as Yellowknife, Reykjavik, or Tromso, and Aurora Eos will find the location so you can check the Kp forecast and Ovation probability for that area. When you are choosing a trip destination or checking the general conditions around a region, city search is still the fastest way to start.
When you are preparing for an actual night out, though, you often move away from the city center to somewhere darker with a wider view of the sky. In that case, you can use city search to find the general area first, then save a more accurate point with the map or exact coordinate input. It makes the forecast easier to interpret for the place you will actually visit.
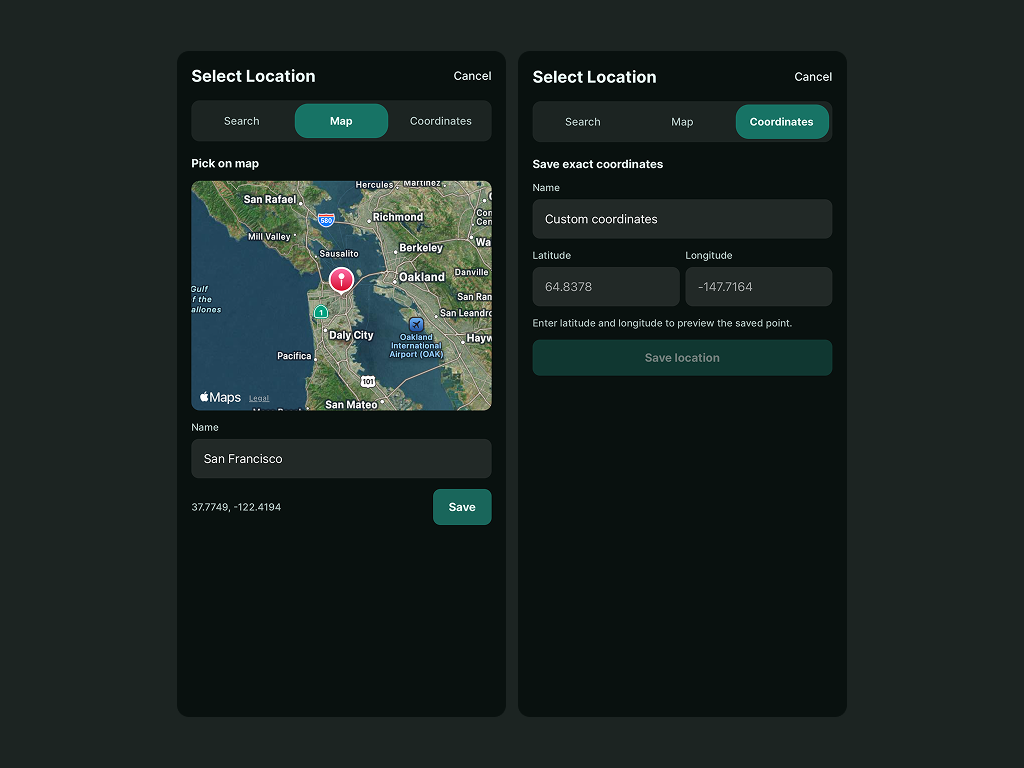
2. Pick a location from the map based on where you are
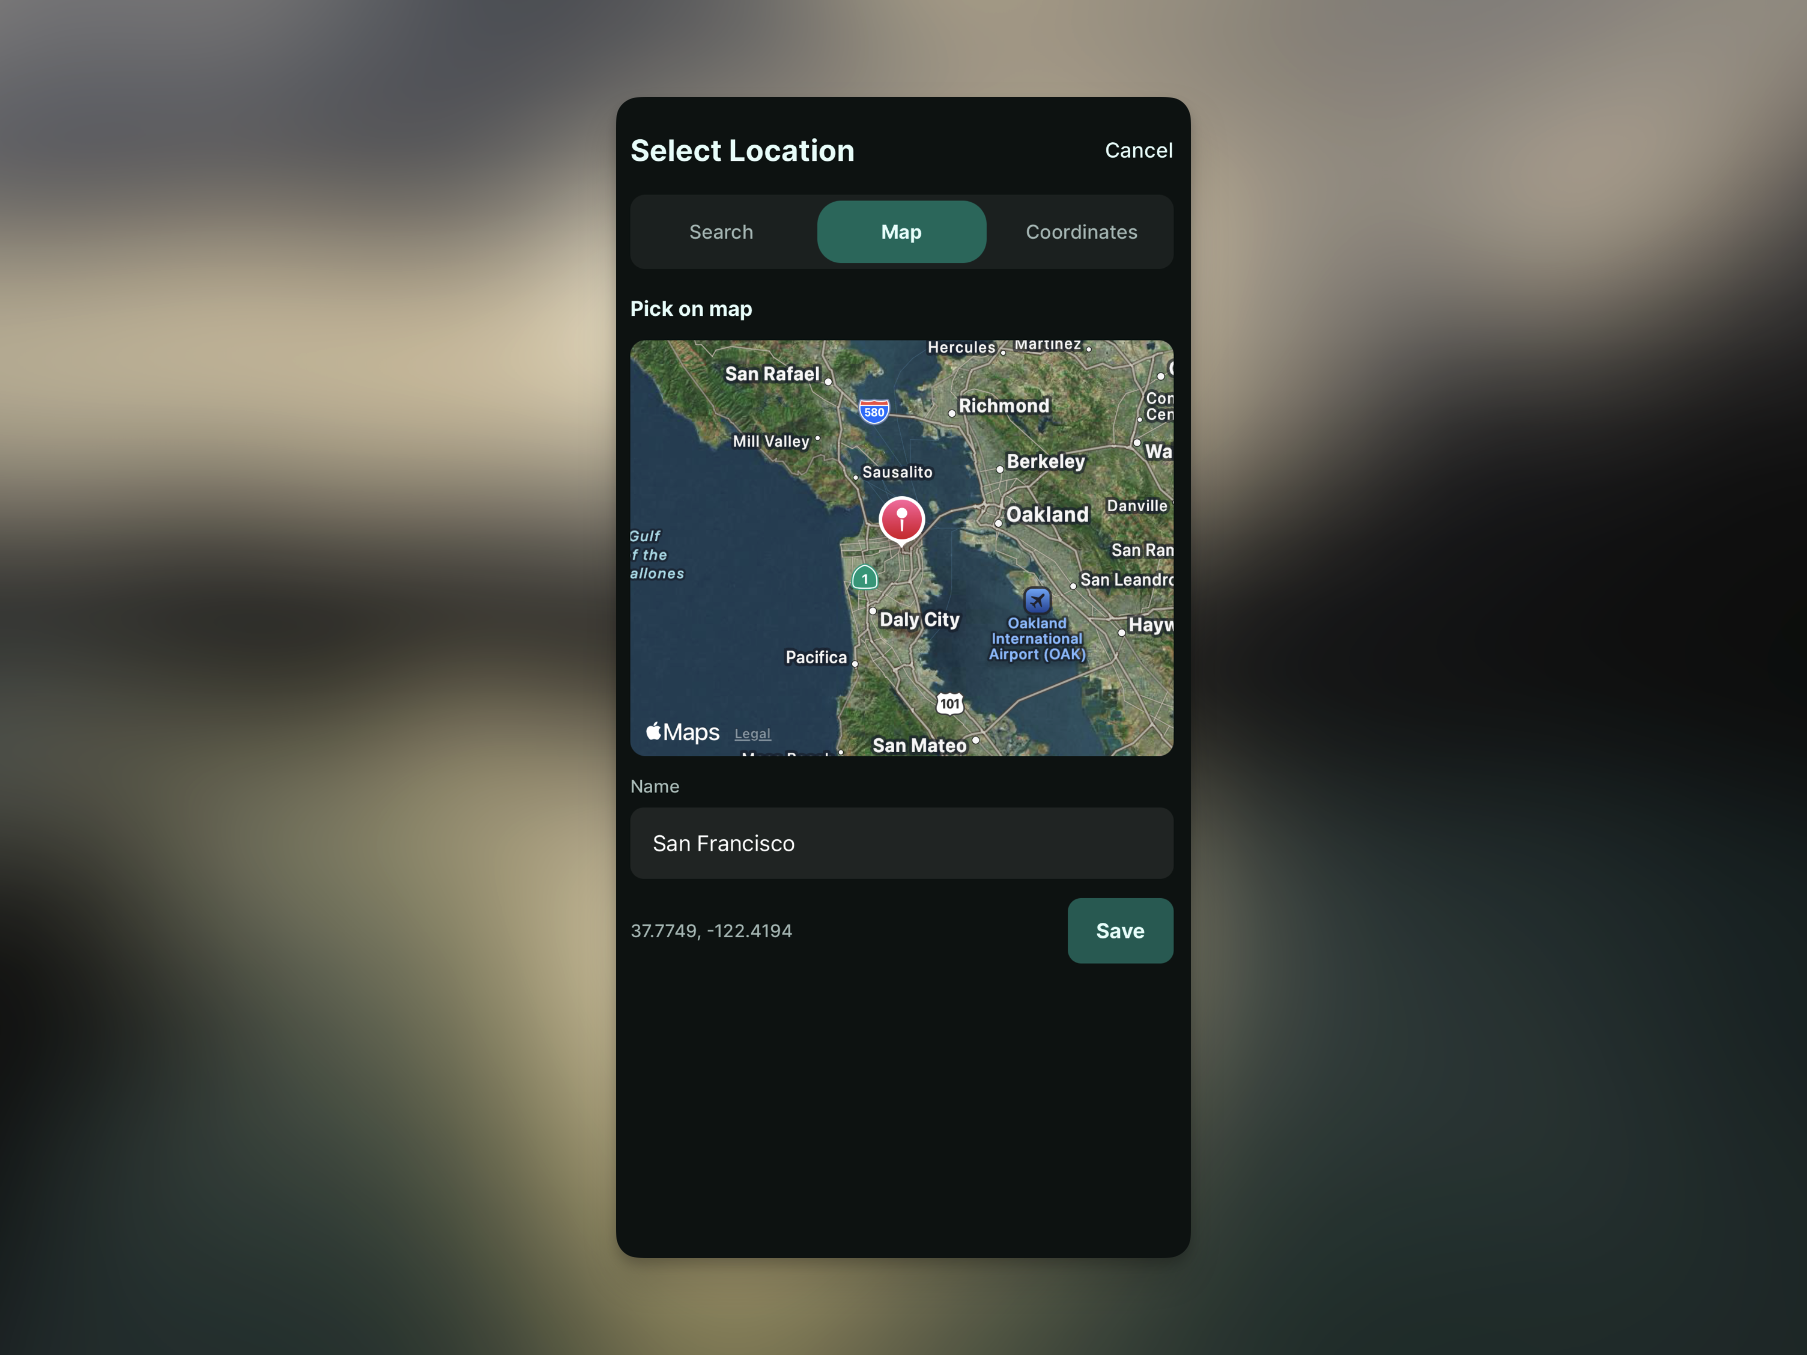
While traveling, you can open the map and choose an observation spot based on your current location. Seeing nearby roads, lakes, and lookout points makes it easier to pick a place you can realistically reach. This connects the forecast inside the app with the actual plan for where to go tonight.
Locations selected from the map can also be saved as custom locations. Once a point is saved, you do not need to find it again the next time. Just open the saved location and check the forecast. If you are comparing several viewing spots, saving each one makes it much more natural to switch between them.
3. Enter exact latitude and longitude
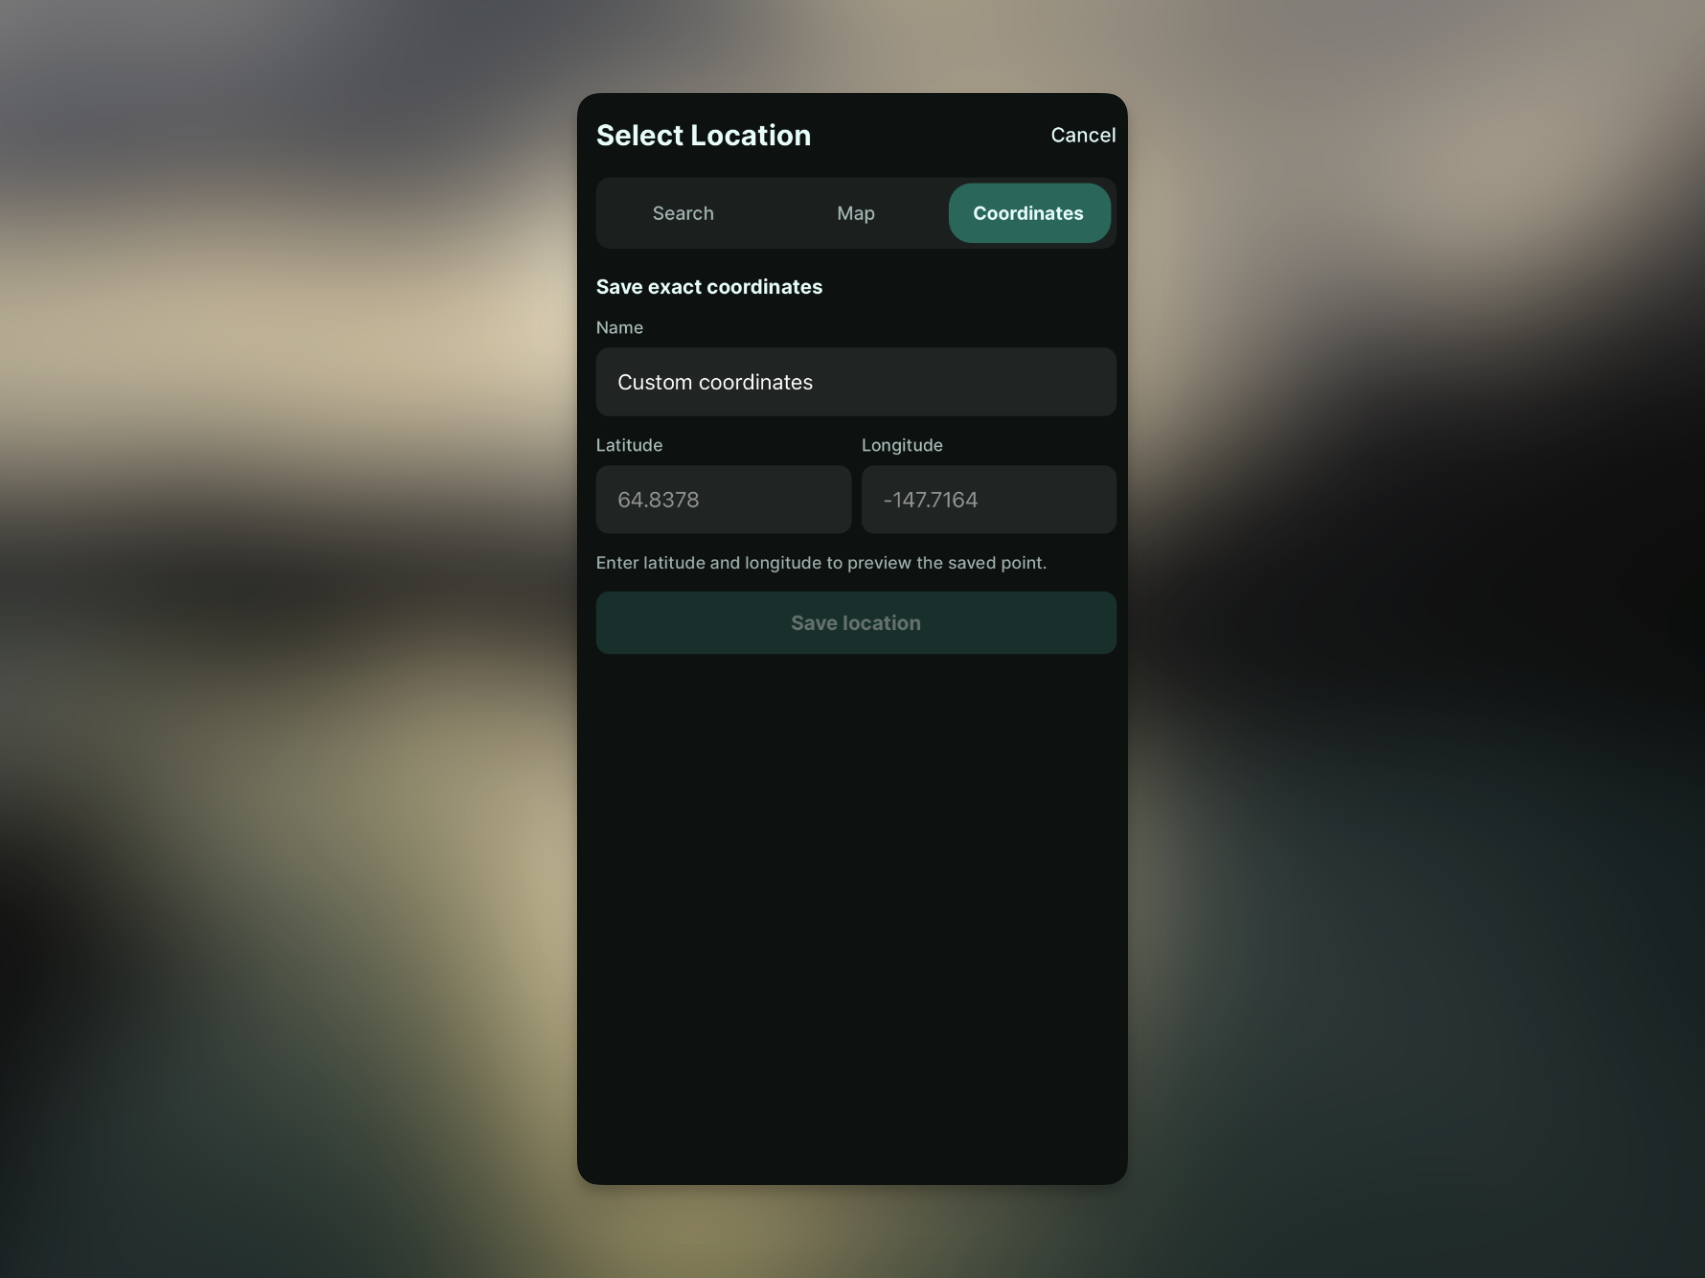
If you already know the coordinates of the place you want to visit, you can enter the latitude and longitude directly. Coordinates copied from a map app or saved in your trip notes can be used as-is. Aurora Eos shows the entered coordinates to 4 decimal places, so it is easy to confirm exactly which point you saved.
This is especially useful for remote observation spots that do not show up well in city search, or small places recommended by locals. Aurora hunting is ultimately about finding the exact place with the best sky, so coordinate input may look like a small feature, but it can make a real difference in the field.
Wrapping up
The goal of this update is not to make the forecast screen more complicated. It is to make the forecast you see match your real observation location more closely. Search quickly by city, choose a nearby point from the map, or enter exact coordinates when needed, then save those places as custom locations. That makes Aurora Eos feel much more connected to the actual night outside.
If you have a regular viewing spot or a few places you want to check on your next trip, I recommend saving them as custom locations. Aurora Eos will keep improving so the time spent waiting for the aurora feels clearer and a little less uncertain.